
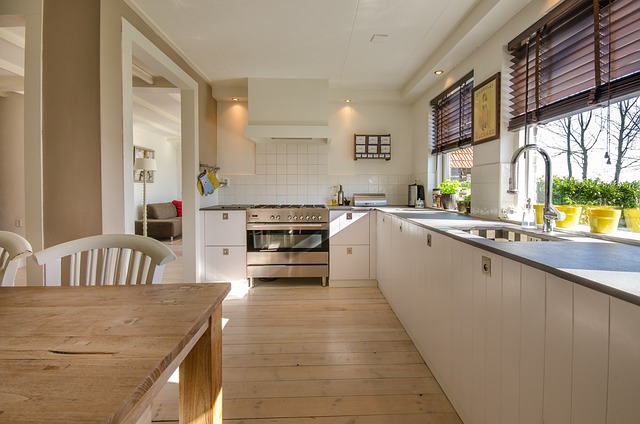
Understanding your kitchen floor type (wood, vinyl, porcelain tiles) is key for effective cleaning and preservation. Prepare by sweeping/vacuuming, using mild detergents or natural agents like baking soda/vinegar. Gather tools: vacuum, mop, microfiber cloths, knee pads, gloves. Clean regularly with pH-neutral cleaners, daily sweeping/vacuuming, prompt drying to prevent water damage, and sanitize high-traffic areas for optimal kitchen floor care.
Keeping your kitchen floor clean and sparkling is essential for a hygienic and aesthetically pleasing space. This comprehensive guide will walk you through the process of deep cleaning your kitchen floors, ensuring longevity and a gleaming finish. From understanding your floor type to selecting the right supplies and implementing effective cleaning techniques, we cover it all. Learn how to address common issues and maintain the beauty of your kitchen floor with regular care practices.
Understanding Your Kitchen Floor Type
Before diving into any deep cleaning routine, it’s crucial to understand your kitchen floor type. Different materials require distinct care and cleaning approaches to ensure longevity and maintain their aesthetic appeal. Wood floors, for instance, need a gentle touch with pH-neutral cleaners to avoid damaging finishes or staining. Vinyl flooring is more durable but still requires regular vacuuming and spot cleaning with suitable solutions to prevent buildup and scratches. Porcelain and ceramic tiles often see heavy foot traffic, making them low-maintenance options that only necessitate occasional deep cleaning with mild detergents. Knowing your floor type allows for effective kitchen floor cleaning tailored to its specific needs.
Gathering the Right Cleaning Supplies

Before tackling any deep cleaning task, having the right tools is essential for achieving spotless results. When it comes to kitchen floor cleaning, a well-stocked supply caddy will make the process much smoother and more efficient. Start by gathering a few key essentials such as a powerful vacuum cleaner designed for hard floors, a mop with a suitable head for your floor type (tile, hardwood, vinyl, etc.), and a variety of cleaning solutions tailored to kitchen environments.
Don’t forget about protective gear like knee pads and rubber gloves to safeguard your skin from any harsh chemicals. Additionally, invest in microfiber cloths or sponges that are highly effective at picking up dirt and germs without leaving scratches on your floors. Having these items readily available will ensure a more organized and productive cleaning routine for your kitchen floor.
Effective Pre-Cleaning Techniques

Before diving into the deep cleaning process, preparing your kitchen floor is key to achieving optimal results. Start by sweeping or vacuuming to remove any loose dirt and debris. This initial step prevents scratches on the floor and ensures a smoother, more efficient clean. Next, address any stubborn stains with a suitable pre-cleaning solution. For kitchens, a mild detergent or a specialized kitchen floor cleaner is ideal, as it cuts through grease and grime while respecting the floor’s finish.
Soak the stained area, allowing the solution to penetrate for a few minutes. This step softens the dirt, making it easier to wipe away. Using a clean sponge or microfiber cloth, gently scrub the treated areas, working from the outer edges towards the center to avoid spreading dirt. Rinse thoroughly with warm water and dry with a clean towel or leave to air-dry, ensuring the floor is completely free of any cleaning residue before proceeding with the deep cleaning process.
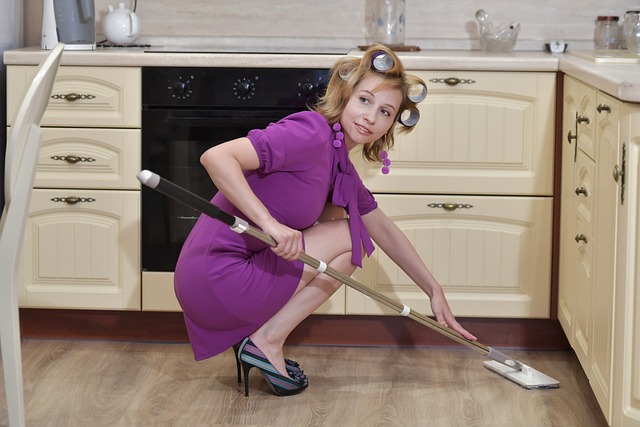
Deep Cleaning Steps for Optimal Results

To achieve optimal results in kitchen floor cleaning, start by gathering the right tools and materials. Begin with a good quality vacuum cleaner to remove loose dirt and debris. Next, use a mop soaked in warm water mixed with a mild detergent designed for kitchen floors. This initial step ensures that larger particles are eliminated, preventing scratches during subsequent scrubbing.
For deep cleaning, apply a floor cleaner or a combination of baking soda and vinegar to the damp mop. Scrub the floor thoroughly, paying close attention to corners and under cabinets where dirt tends to accumulate. Rinse the floor with clean water to remove any residue left by the cleaning solution. Finally, dry the floor completely using a microfiber cloth or a dry mop to prevent slipping hazards and ensure a sparkling finish that reflects the cleanliness of your kitchen.
Using Safe and Natural Cleaning Agents
When it comes to deep cleaning kitchen floors, opting for safe and natural cleaning agents is a wise choice. These eco-friendly alternatives are not only better for your health but also leave no harmful residues on your floor surfaces. Many conventional cleaning products contain harsh chemicals that can be abrasive and potentially damaging to kitchen floors over time. Natural cleaners, such as baking soda, vinegar, and essential oils, offer a gentle yet effective approach to removing dirt and grime.
Baking soda acts as a natural scrubber, cutting through oil and grease stains effectively. Mixed with white vinegar, it creates a powerful cleaning solution that cuts through tough residue without leaving behind any toxic fumes or harsh smells. Essential oils like tea tree and lemon add a refreshing aroma and possess antimicrobial properties, ensuring your kitchen remains fresh and clean. Using these simple, natural ingredients allows you to maintain a sparkling kitchen floor while also contributing to a healthier living environment.
Addressing Common Kitchen Floor Issues
Kitchen floors often bear the brunt of daily activity, facing constant exposure to water, food spills, and grime from various sources. Common issues include stubborn stains, buildup of grease, and a general lack of sparkle that can make even the cleanest kitchens look worn out. Effective kitchen floor cleaning requires tackling these problems head-on.
Addressing these issues starts with understanding the type of flooring you have—whether it’s tile, vinyl, or hardwood—as each material has unique care requirements. The right cleaning solutions and techniques are crucial. For example, using acidic cleaners on wood floors can cause damage, while stone tiles may need a more gentle touch to avoid etching. Regular mopping and sealing can significantly reduce the occurrence of stains and maintain the floor’s integrity over time.
Maintaining Longevity and Shine

To keep your kitchen floor looking its best, regular cleaning is just the beginning. Maintaining longevity and shine involves a few simple yet effective strategies tailored to the unique needs of kitchen floors. Start by sweeping or vacuuming daily to remove loose dirt and debris, which can accumulate and damage the finish over time. This initial step not only prevents scratches but also ensures your floor stays slip-resistant.
For deep cleaning, use a pH-neutral cleaner designed specifically for kitchen floors. Avoid harsh chemicals that can erode the surface or leave behind streaks, as these can dull the floor’s shine. After mopping, dry the floor promptly to prevent water damage and maintain its glossy appearance. Regular care not only extends the life of your kitchen floor but also keeps it looking vibrant and inviting for years to come.
Tips for Regular Kitchen Floor Care

Regular kitchen floor care is essential for maintaining a hygienic and appealing space. Start by sweeping or vacuuming daily to remove loose dirt, debris, and food particles. This initial step prevents buildup and makes deep cleaning more efficient. Use a microfiber mop with hot water and a mild detergent suitable for kitchen floors. Avoid harsh chemicals that could leave residue or damage the floor surface.
Consider using non-slip mats at entry points to trap dirt from outdoor shoes, reducing the amount of grime tracked indoors. Regularly clean and sanitize high-traffic areas like the sink and stove, as these are frequent touchpoints. Additionally, wiping down appliances and cabinets can help maintain a spotless kitchen environment.