This text offers comprehensive guidance on faucet repair for common issues like leaks, dripping water, stiff handles, and faulty cartridges. It stresses the importance of basic tools (adjustable wrenches, pliers, Teflon tape) and understanding fundamental parts (O-rings, washers, cartridges). The guide provides step-by-step instructions for fixing leaking faucets, replacing cartridges, and tightening loose handles, emphasizing water supply shut-off and careful disassembly/reassembly. Regular maintenance, including leak checks and tight connections, is recommended to prevent future faucet repair needs.
Looking to tackle that pesky leaking faucet? You’ve come to the right place. This comprehensive guide dives into the most common bathroom faucet issues, equipping you with the knowledge to fix them yourself. From identifying and gathering tools to final checks and maintenance tips, we break down each step for a successful DIY repair. Conquer those faucet problems once and for all – no professional needed!
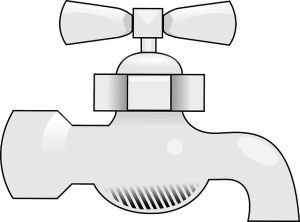
Understanding Common Faucet Issues
Common faucet issues can often be easily diagnosed and repaired, saving you time and money. Leaks, for instance, are usually caused by worn-out O-rings or cartridges. Dripping water might indicate a loose connection or a damaged washer. If your faucet’s handle is stiff or difficult to turn, it could be seized or damaged, requiring replacement parts. Understanding these common problems is the first step in effective faucet repair.
Many homeowners can fix these issues with a few simple tools and some basic knowledge. Identifying the specific problem will help you gather the right parts and tools for the job. Whether it’s replacing worn-out components or tightening loose connections, addressing these faucet concerns promptly not only saves water but also prevents further damage.
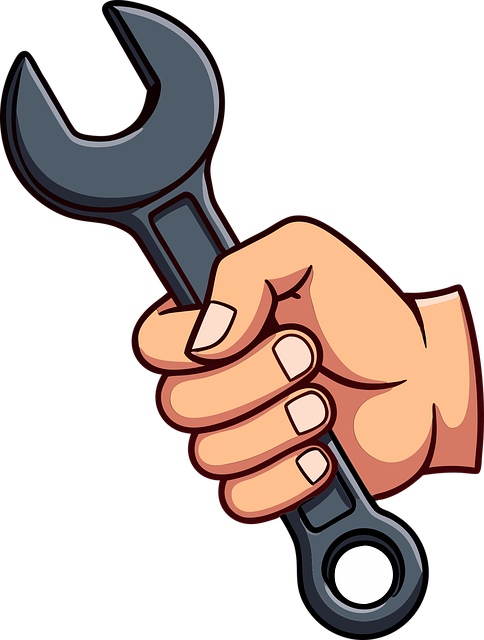
Gather Tools and Materials for Repair
Before starting any faucet repair, it’s essential to gather the right tools and materials. For most basic repairs, you’ll need a few common household items like adjustable wrenches, pliers, and Teflon tape or pipe compound. These tools will allow you to loosen and remove parts, ensuring a secure fit when reassembling. Additionally, having a replacement washer or O-ring on hand can save time as these are common sources of leaks.
When it comes to materials, consider the type of faucet you have—different designs may require specific parts. Keep an eye out for any visible damage or wear and bring along similar replacement parts if necessary. Having everything ready before beginning will ensure a smoother faucet repair process, allowing you to focus on troubleshooting and fixing the issue efficiently.
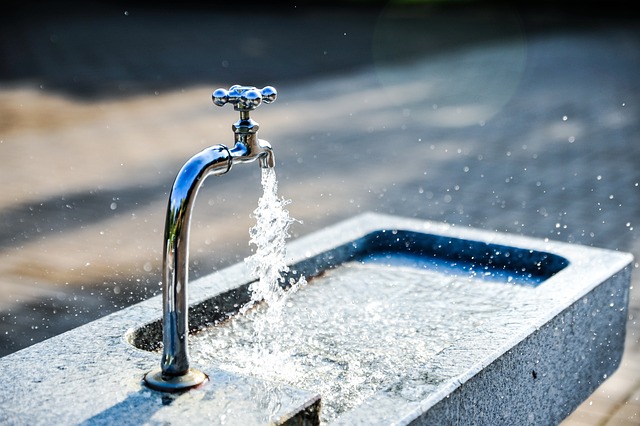
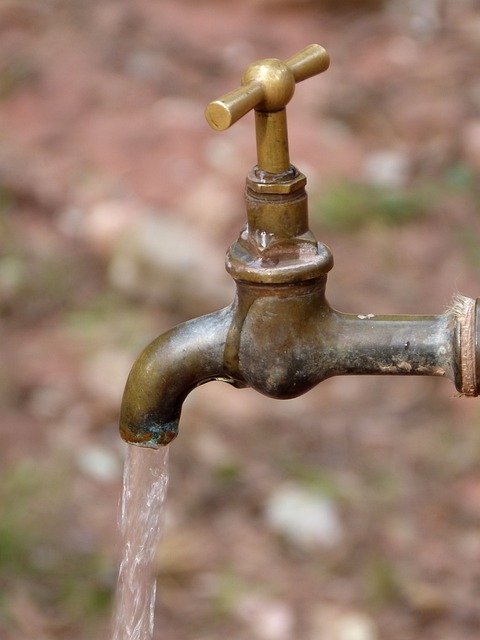
Steps to Fix a Leaking Faucet

A leaking faucet is a common bathroom issue that many homeowners face. However, fixing it doesn’t have to be a daunting task. Here’s a straightforward approach to tackle this problem. First, turn off the water supply to your faucet. This can usually be done by closing the shut-off valves located under the sink. Once the water is cut off, you can start disassembling the faucet. Use a wrench or the appropriate tool to remove the handle and the head of the faucet. Underneath, you’ll find the O-ring or washer—the primary culprit for leaks. Inspect it for damage or wear, then replace it with a new one if necessary. After installing the new O-ring, reassemble the faucet, ensuring all parts are properly aligned. Finally, open the shut-off valves again and check for any leaks. If water is still seeping in, double-check your connections and consider using plumber’s tape or a new washer to create a tighter seal.
Replacing the Faucet Cartridge: A Step-by-Step Guide

Replacing a faucet cartridge is a common bathroom faucet repair that can be done with some basic tools and a few simple steps. First, shut off the water supply to your faucet. This is usually located under the sink or behind the faucet. Once the water is turned off, you can begin disassembling the faucet. Remove any decorative covers or handles, then locate and twist off the old cartridge. It’s typically held in place by a single screw.
Next, insert a new cartridge, ensuring it’s properly seated and aligned. Tighten the screw securely but be careful not to overtighten. After replacing the cartridge, turn on the water supply and check for any leaks. If everything is sealed tightly, your faucet repair is complete.
Tightening or Adjusting the Faucet Handle
When it comes to bathroom faucet repair, one common issue that homeowners often encounter is a loose or improperly functioning handle. This can be easily addressed by simply tightening or adjusting the faucet handle. Before starting any repair, ensure your water supply is turned off at the shut-off valves located under the sink. With the water shut off, you can now access the faucet handle assembly. Often, all that’s needed is to tighten the screws securing the handle, which may have come loose over time due to regular use.
Using a suitable wrench or screwdriver, carefully turn the screws clockwise until the handle feels secure and tight. If the handle still moves excessively, try adjusting the spring or the packing around the base of the faucet. These adjustments can significantly improve the stability and functionality of your faucet, making it like new again and saving you the cost and hassle of a professional repair for simple fixes like this one in bathroom faucet repair.
Final Checks and Maintenance Tips
After successfully replacing the faucet parts, perform a final check by turning on the water supply and testing the faucet’s functionality. Ensure there are no leaks at the base or around the connections, as this could indicate that some components were not properly sealed or secured during the repair process.
Regular maintenance is key to preventing future bathroom faucet repairs. Keep an eye out for any signs of damage or corrosion and address them promptly. Periodically check for loose connections and ensure all parts are securely fastened. Consider using a waterproof sealant on threads and O-rings to prevent leaks and prolong the lifespan of your faucet repair.