This text provides a comprehensive guide to common Faucet Repair issues, focusing on DIY solutions for leaky handles, low water pressure, and poor flow. It recommends assembling a repair kit with essential tools and replacement parts specific to your faucet model. Understanding key components like washers, O-rings, and cartridges is crucial for successful troubleshooting. The guide walks through step-by-step processes for fixing leaks, broken handles, and malfunctioning cartridges, emphasizing proper preparation, regular maintenance, and quick action for optimal Faucet Repair.
Need to fix that leaky or broken faucet? This comprehensive guide will walk you through common faucet issues, essential tools required for repair, and step-by-step instructions. From identifying your faucet’s parts to replacing a cartridge or valve seat, learn how to tackle any problem efficiently. By following these detailed steps, you’ll not only save money but also gain valuable DIY skills in faucet repair.
Understanding Common Faucet Issues

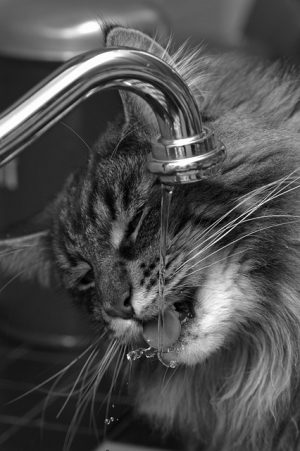
Many common faucet issues can be easily diagnosed and repaired, saving you time and money. Some of the most frequent problems include leaky handles, low water pressure, and a poor-flowing spout. Leaky handles are often caused by worn-out O-rings or washers, which can usually be replaced quickly and affordably. Low water pressure might be due to mineral buildup in the aerator or a clogged strainer, both of which can be cleared with minimal effort. If your faucet’s flow has slowed, it could be an indication of a partially clogged aerator or a need for adjustment.
Identifying the root cause is crucial for effective faucet repair. A leaky faucet might seem like a minor inconvenience but can waste significant amounts of water over time. Moreover, addressing issues early can prevent further damage and costly replacements. With some basic tools and knowledge of faucet repair, you can tackle these common problems as they arise, ensuring your faucets function optimally and efficiently.
Gather Necessary Tools and Materials
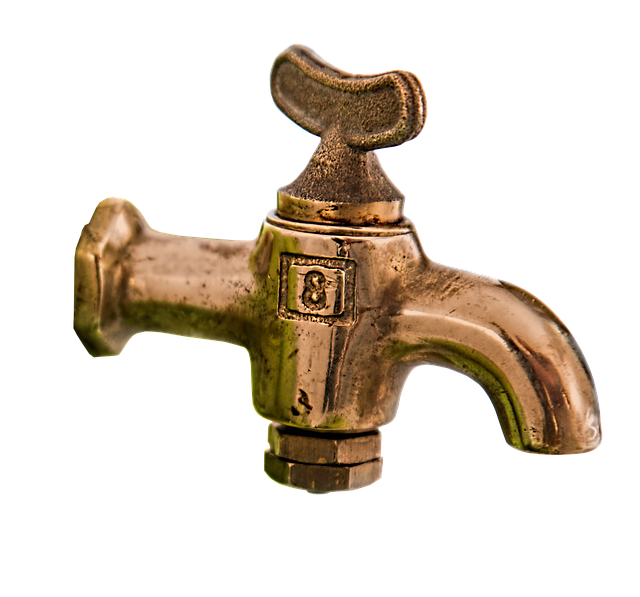
Before starting any faucet repair, it’s crucial to gather all the necessary tools and materials. For most faucet repairs, a few basic tools will do—a wrench or pliers for gripping and turning, a screwdriver for removing screws, and possibly a new washer or O-ring if your faucet is leaking. Make sure these tools are of the right size and fit for your faucet’s components. Additionally, have some plumbing tape or pipe compound on hand to ensure a secure seal after the repair.
When it comes to materials, consider getting replacement parts specific to your faucet model. Washers, O-rings, and cartridges are common parts that can be replaced. Check your faucet’s manual or look up its model online to identify these parts accurately. Having the right tools and materials will make your faucet repair process smoother and more efficient, ensuring you get back to enjoying a fully functional fixture in no time.
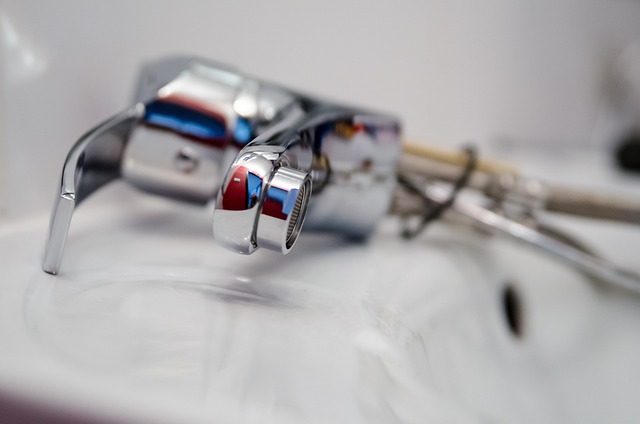
Identifying Your Faucet's Parts

When tackling a faucet repair, understanding your faucet’s various parts is key. The most common components include the handle, valve cartridges, O-rings, and washers. The handle, often the most visible part, can be further broken down into several pieces: the base, stem, and knob. Each of these parts plays a crucial role in controlling water flow and temperature.
Identifying specific issues within these parts is essential for successful faucet repair. For instance, a leaking handle might indicate worn-out O-rings or washers, while a handle that sticks could signal a problem with the stem or base. Familiarizing yourself with the layout and function of each part will make your faucet repair process smoother and more efficient.
Steps to Fix a Leaking Faucet
A leaking faucet can waste a significant amount of water and disrupt your daily routine. Luckily, fixing it is often a straightforward process that can be completed in just a few steps. Begin by turning off the water supply to the faucet. This is usually done by rotating the valve beneath the sink counterclockwise until it stops. Next, disassemble the faucet handle and spout. You may need an adjustable wrench or pliers for this task. Inspect the washer and O-ring for damage or wear and replace them if necessary. These parts are commonly the source of leaks. Once replaced, reassemble the components, ensuring each part is securely in place. Finally, turn on the water supply and test the faucet to confirm the leak has been successfully stopped. Regular maintenance and prompt action when a leak occurs can help prevent further damage and water waste.
Troubleshooting a Broken Handle
When your faucet handle breaks, don’t panic. With a few simple tools and some basic knowledge, you can often fix the issue yourself. Start by identifying the type of faucet you have—compacte or widespread—as this will determine the replacement parts needed. Then, turn off the water supply to prevent leaks during repair.
Next, remove the broken handle with a suitable wrench or pliers. Inspect the stem and cartridge for any damage or debris. Common problems include a stuck cartridge or worn-out seals. Clean or replace these components as necessary, ensuring all parts are properly aligned. Once everything is in good condition, reassemble the faucet handle, reattach the supply lines, and turn on the water to test the repair. If the faucet still doesn’t function correctly, consult a professional plumber for further assistance.
Replacing the Cartridge or Valve Seat

When undertaking a faucet repair, one of the most common issues that homeowners encounter is a leaky or poorly functioning cartridge or valve seat. The cartridge controls the flow of water and the temperature in single-handle faucets, while the valve seat seals the valve to prevent leaks. If these components are worn out or damaged, replacing them is often the best solution for effective faucet repair. This DIY task requires only basic tools and can be accomplished in a few simple steps. First, turn off the water supply under the sink to avoid any spills or flooding during the replacement process. Then, remove the old cartridge or valve seat by unscrewing it from the faucet body. Once removed, inspect the parts for damage or wear and identify the appropriate replacement components for your specific faucet model.
Tightening or Replacing the Faucet Handles

When it comes to faucet repair, one common issue that homeowners often encounter is loose or broken handles. Before considering a replacement, tightening the existing handles can be a simple and cost-effective solution. This process typically involves unscrewing the handle from the faucet’s base and applying the right amount of thread locker or plier grips to secure it tightly again. It’s an easy fix that can instantly restore the functionality of your faucet.
However, if the handles are severely damaged or worn out, replacement might be necessary. Modern faucets come with both manual and automatic handle options, each offering different levels of control and convenience. Manual handles are straightforward to replace by detaching the old ones and installing new ones that match your faucet’s style and design. Automated handles, on the other hand, often require professional assistance due to their complex mechanisms. For faucet repair enthusiasts, keeping a set of spare handles on hand is beneficial, allowing for quick replacements when needed.
Final Checks and Maintenance Tips

After successfully replacing or repairing your faucet handle, conduct a few final checks to ensure everything functions smoothly and efficiently. First, turn on the water supply to each fixture individually and observe if there are any leaks at the base of the faucet or around the connections. If you notice any, tighten the fittings using a wrench or pliers and recheck after a minute. If leaks persist, consult a professional for further assistance.
Regular maintenance is key to keeping your faucet in top condition. Periodically inspect the handle for any signs of wear or damage, and ensure the washer and O-ring are in good shape. Replacing these parts as needed can prevent future leaks and keep water pressure consistent. Remember, regular care can save you from more complex and costly repairs down the line.