
This text provides a comprehensive guide to effective Grout Stain Removal, emphasizing the importance of understanding material composition and stain types. It recommends regular cleaning with mild detergent, but also offers solutions for stubborn stains using vinegar, baking soda, or commercial cleaners. Key steps include preparing the area, pre-cleaning with detergent, testing cleaning solutions on hidden areas, and adopting a proactive maintenance routine. For severe cases, professional services are advised. Regular sealing, vacuuming, mopping, and avoiding harsh chemicals extend grout lifespan.
Grout, the material that defines the spaces between tiles in your bathroom or kitchen, can quickly become a haven for stains due to its porous nature. This article is your comprehensive guide to effective grout stain removal and prevention. We’ll delve into understanding common grout stains, exploring tools and materials, and providing step-by-step techniques. Learn about chemical solutions for stubborn cases, discover natural cleaning remedies, and find out when professional help might be necessary. By implementing these tips, you’ll maintain a fresh, stain-free space for years to come.
Understanding Grout and Common Stains
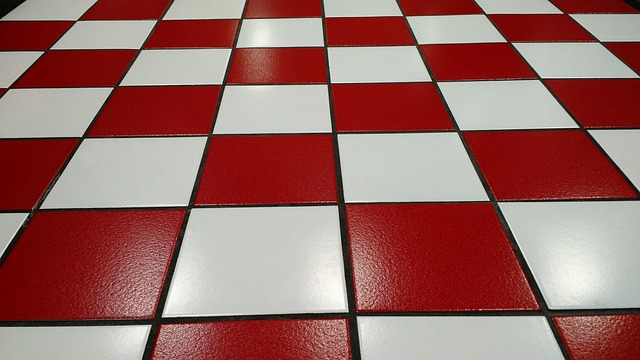
Grout, a material used to fill spaces between tiles in floors and walls, is both functional and aesthetically pleasing. However, its porous nature makes it susceptible to absorbing stains from various sources like dirt, grease, mold, and mildew. Understanding the composition of grout and the common types of stains it encounters is the first step in effective grout stain removal.
Regular cleaning with mild detergents can keep grout looking fresh for longer periods. But for stubborn stains, a combination of vinegar, baking soda, or commercial grout cleaners might be required. Identifying the specific type of stain is crucial to selecting the right cleaning method and product for optimal grout stain removal results.
Tools and Materials for Effective Cleaning
When it comes to effective grout stain removal, the right tools and materials are essential for achieving optimal results. Start by gathering a few key items from your local home improvement store. A quality grout brush with stiff bristles is a must-have; it’s designed to penetrate deep into the grout lines, effectively lifting away dirt and stains. Additionally, you’ll need a pressure washer or a powerful garden hose equipped with a nozzle for a thorough cleaning. Don’t forget about protective gear like gloves and safety goggles to shield yourself from debris. For stubborn stains, consider investing in a grout cleaner or an oxygen-based bleach, which are highly effective at removing even the most ingrained grout stains without damaging the surface.
Pre-Cleaning Preparation Techniques

Before tackling grout stain removal, proper preparation is key. Start by sweeping or vacuuming the floor to remove any loose debris or dust. This prevents particles from becoming trapped in the grout during cleaning, ensuring a more effective and thorough clean. Next, apply a small amount of gentle detergent or grout cleaner to the affected area, gently rubbing it into the grout with a soft-bristled brush. Let the detergent sit for a few minutes, allowing it to loosen any embedded stains. This pre-cleaning step is crucial in preparing the grout for deeper cleaning and stain removal.
Step-by-Step Guide to Removing Grout Stains

Removing grout stains is a straightforward process that can instantly refresh your bathroom or kitchen. Start by identifying the type of stain and gathering the right tools. For mild stains, a mixture of warm water and baking soda is effective. Apply this paste to the stained area and let it sit for 15-20 minutes before scrubbing gently with a soft brush or cloth. Rinse thoroughly with clean water.
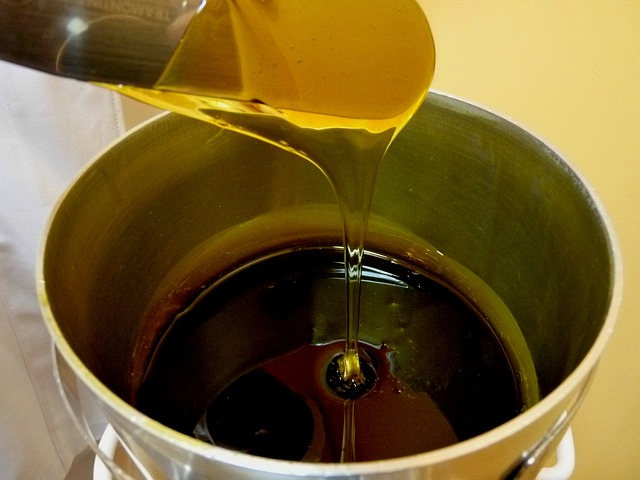
For tougher stains, especially from oil, soap scum, or iron deposits, create a solution of equal parts white vinegar and warm water. Apply this to the stained grout using a spray bottle or old toothbrush. Let it soak for an hour, then scrub vigorously with a grout brush or stiff-bristled cleaning tool. Rinse again until the water runs clear. Always test any cleaning solution on a small, hidden area first to ensure it won’t damage the grout.
Chemical Solutions for Stubborn Stains

When it comes to tackling stubborn grout stains, chemical solutions offer a powerful and effective approach for deep cleaning. These specialized products are designed to penetrate and dissolve even the most ingrained dirt, grime, and discolourations in your grout lines. By using the right chemical agent, you can achieve remarkable results, transforming your once-discoloured grout into a crisp, clean finish.
There is an array of commercial grout stain removers available, each with its own unique formula to target specific types of stains. These solutions often contain powerful yet safe ingredients that effectively break down and remove organic compounds and mineral deposits responsible for discolouration. Always follow the manufacturer’s instructions when using these chemicals to ensure safety and optimal results for your grout stain removal efforts.
Natural Cleaning Remedies for Everyday Use

When it comes to grout stain removal, natural cleaning remedies offer an effective and eco-friendly alternative to harsh chemicals. Common household ingredients like baking soda and vinegar are powerful detergents that can tackle even the toughest grout stains. For example, creating a paste from baking soda and water can scrub away dirt and grime, while white vinegar’s acidity helps break down and dissolve mineral deposits and calcium buildup.
These natural remedies not only clean effectively but also save you money and reduce your environmental impact. Additionally, they are safe for use around children and pets, making them ideal for homes with young families. Incorporating these simple, yet powerful tools into your regular cleaning routine can keep your grout looking fresh and new while promoting a greener lifestyle.
Preventing Future Stains and Discoloration

After successfully cleaning and removing grout stains, it’s crucial to take preventive measures to avoid future discoloration. Regular maintenance is key; mop floors frequently to eliminate residual dirt and moisture that could lead to new stains. Additionally, sealing the grout with a high-quality sealer after cleaning can create an impenetrable barrier against stains. This simple step significantly reduces the risk of discoloration, preserving the cleanliness and aesthetics of your grout.
When it comes to grout stain removal, proactive approaches are often more effective than reactive ones. Using non-abrasive cleaning solutions recommended for your grout type is essential to prevent damage. Avoid harsh chemicals that could deteriorate the grout material over time. Furthermore, be mindful of foot traffic and quickly clean any spills or drops to stop them from setting into the grout, ensuring a longer-lasting, stain-free result.
When to Consider Professional Help

If your grout has become discolored and stains have set in, it might be time to consider professional help for grout stain removal. While DIY methods can be effective for minor grout stains, deep-seated or extensive discoloration often requires specialized equipment and expertise. Professional grout cleaning services have access to powerful steam cleaners, high-pressure washers, and advanced chemical solutions that can penetrate and lift stubborn stains.
Additionally, professionals understand the different types of grout and tiles, allowing them to use the most suitable methods and products for your specific situation. They can also assess any underlying issues, such as poor drainage or inadequate sealing, which could be contributing factors to the grout stain problem. Seeking professional assistance is especially recommended for older homes or those with unique tile configurations, ensuring a thorough clean and long-lasting results without causing damage to your grout or tiles.
Maintenance Tips for Longevity

Regular maintenance is key to prolonging the life of your grout and keeping it looking pristine. After cleaning, apply a sealant to protect against moisture and stains. This step is crucial for preventing regrowth of mold, mildew, and bacteria that can cause discoloration. Use a soft brush or cloth to reapply the sealant every few months, especially in high-traffic areas.
Additionally, regular vacuuming and mopping can help maintain grout’s integrity. Avoid using harsh chemicals or abrasive tools which could damage the grout or tile surface. For stubborn grout stains, identify the cause—whether it’s mold, dirt, or oil—and choose a targeted cleaning solution. Regular deep cleaning sessions, combined with proper care, will ensure your grout remains in excellent condition, preserving the aesthetics of your tiles for years to come.