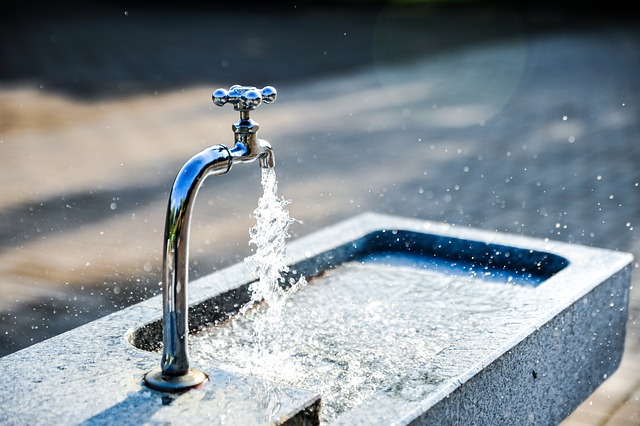
Faucet repair is a manageable task for homeowners, addressing common issues like leaks, reduced flow, and faulty valves. Key steps include gathering essential tools and materials, turning off water supplies, disassembling the faucet, identifying faulty parts, and replacing them with proper alignment. Addressing loose tightening, improper connections, and corroded parts prevents leaks and ensures optimal water pressure and performance. Consulting repair guides tailored to your faucet model aids in efficient troubleshooting. For complex problems, professionals equipped with specialized tools offer expert solutions, ensuring compliance with local plumbing codes.
Looking to fix that leaky or malfunctioning kitchen faucet? This comprehensive guide will walk you through common issues, essential tools, and step-by-step disassembly. Learn how to identify faulty parts, replace them effectively, and tighten for seamless functionality. We’ll also provide testing tips, troubleshooting tricks, and know when to call a professional. Master the art of faucet repair and save time, money – and maybe even a trip to the store!
Understanding Common Faucet Issues
Faucets, being one of the most frequently used fixtures in any kitchen, are prone to wear and tear over time. Recognizing common issues can help homeowners with basic faucet repair before calling a professional. Leaks, for instance, are often caused by damaged or worn-out O-rings or cartridges, which can usually be replaced relatively easily. Hard water buildup and mineral deposits can also lead to reduced water flow and temperature control problems, requiring regular cleaning or replacement parts.
Another frequent issue is a faucet that drips or runs continuously. This typically indicates a faulty valve or control mechanism. Fortunately, many of these issues can be resolved by replacing specific components, such as aerators or valves, without extensive knowledge or tools. Understanding the basic mechanics of your faucet and common troubleshooting techniques can empower you to tackle minor repairs yourself, saving time and money on faucet repair.
Tools and Materials Required for Repair

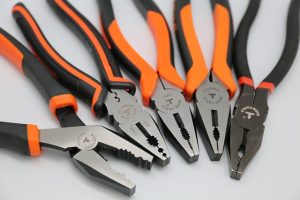
When tackling a faucet repair, having the right tools and materials is essential for success. Basic tools like adjustable wrenches, pliers, and a screwdriver are typically needed to loosen and remove parts. For more complex repairs, you might require specialized tools such as a faucet compressor, O-ring puller, or a new faucet O-rings kit.
Materials-wise, you’ll likely need replacement parts specific to your faucet model, including O-rings, washers, valves, or cartridges. Additionally, a container for collecting any excess water and some basic cleaning supplies will help ensure the process goes smoothly and efficiently.
Steps to Disassemble the Faucet
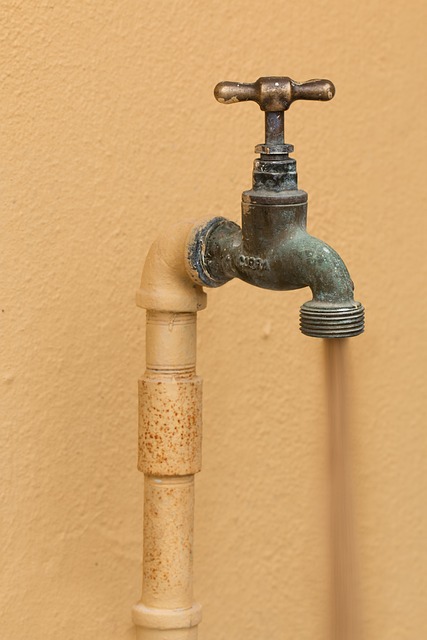
To begin disassembling your kitchen faucet for repair, gather a few essential tools: a wrench or pliers, screwdriver, and a bucket to catch any parts that fall out. First, turn off the water supply to your faucet using the shut-off valves located under the sink. This is crucial for safety and to prevent leaks during the repair process. Once the water is turned off, you can begin disassembly by unscrewing the faucet handle and removing the decorative cover. Depending on your faucet model, there may be additional screws or clips securing other components; locate and remove these carefully.
Next, isolate the cartridge or valve assembly—this is usually a central component that controls water flow and temperature. Gently pull out the spout and any other visible parts to access this mechanism. Take note of how each piece fits together for easier reassembly later. With all the components accessible, you can now fully disassemble the faucet, ready for repair or replacement as needed.
Identifying and Replacing Faulty Parts

When tackling a kitchen faucet repair, one of the key steps is identifying and replacing faulty parts. Start by examining the faucet closely to spot any visible signs of damage or wear, such as cracked handles, leaks around the base, or an uneven water flow. These indicators will point you towards the specific components in need of replacement—be it the cartridge, washers, O-rings, or valve seats.
Accessing and replacing these parts requires a basic toolkit with pliers, screwdrivers, and sometimes a new faucet kit. Remove any decorative covers or handles, then disconnect the water supply lines before disassembling the faucet. With patience and precision, identify the faulty part(s) and install their replacements, ensuring proper alignment and sealing to prevent leaks. Properly repairing or replacing these parts can extend your faucet’s lifespan, ensuring smooth operation and saving you from costly repairs in the future.
Tightening and Adjusting for Proper Functionality

When repairing a kitchen faucet, one common issue that can be easily addressed is loose or improper tightening. This often leads to leaks and inconsistent water flow. To fix this, start by removing the faucet handle to access the internal components. Then, locate the stems and cartridges—these are the heart of your faucet’s functionality. Tighten these parts using a wrench or screwdriver, ensuring they’re secure but not overly tight.
A slight adjustment can make a big difference in how smoothly your faucet operates. For instance, if the water pressure is too low, you might need to tighten the pressure-regulating screws. Conversely, if the spout angles are off, adjust the cartridge or stem to find the desired position. Proper tightening and adjustments ensure the longevity of your faucet repair and optimal performance in your kitchen.
Testing and Troubleshooting Tips

When tackling a kitchen faucet repair, testing and troubleshooting are crucial steps in ensuring a successful fix. Begin by isolating the water supply to prevent any unexpected leaks or drips during your repair. Turn off both hot and cold valves beneath the sink – remember, this is a vital step before any disassembly. Once the water is turned off, listen for any unusual noises coming from the faucet, as this could indicate a worn-out washer, aerator, or even a faulty cartridge.
Visual inspection is also key. Check for common issues like loose connections, corroded parts, or leaks around the base of the faucet. If you’re unsure where to begin, consider consulting repair guides specific to your faucet model, which can walk you through troubleshooting steps tailored to its unique design. These tips will help you efficiently diagnose and address various faucet repair needs.
When to Seek Professional Assistance
If simple troubleshooting techniques, like tightening connections or replacing a washer, don’t fix your kitchen faucet issue, it’s time to consider professional assistance. Complex problems such as broken parts, faulty valves, or leaks stemming from structural damage often require specialized tools and expertise that are beyond the scope of a DIY repair project.
Seeking help from a licensed plumber is advisable when you notice persistent leaks, significant water pressure issues, or unusual noises coming from your faucet. Plumbers have the training and experience to accurately diagnose intricate problems and provide lasting solutions. Additionally, they can ensure that any repairs comply with local plumbing codes, safeguarding your home from potential damage caused by inadequate fixes.